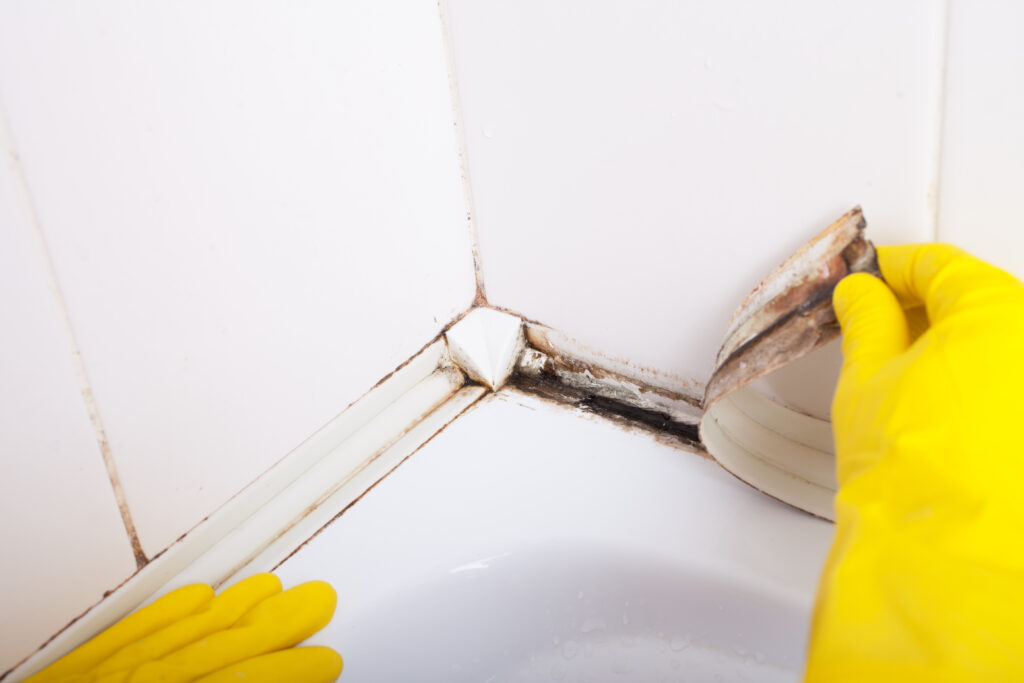
The bathroom – a haven of peaceful relaxation as you sink into a warm, soothing bath. Your peace could soon be disturbed however by something lurking on the sealant just inches from your head. Look down in the shower and you’ll likely see it there too. What is this unwelcome bathroom guest? Black mould, not only unsightly but can pose health risks too in the form of respiratory irritation. In this article, we look at why mould grows on bathroom sealant and the steps you can take to not only remove it but try to prevent it from coming back.

Why Does Mould Grow on Silicone Sealant?
You would think that with the waterproof qualities of silicone sealant, mould would not be able to grow. However, over time, the silicone sealant can come away from the surface allowing water to begin to collect behind. Mould loves warm and humid environments! As the bathroom is a wet environment due to the nature of the activities that take place, if surfaces aren’t dried after each use, the microscopic spores released by mould can land on the damp and grow.
Here is How to Remove Mould from Silicone
This can be done based on your preference for natural or chemical removal. No matter which method you choose, remember to use gloves and a mask to protect your lungs as deal with the mould. Let’s look at the natural route first. For this you will need white vinegar and bicarbonate of soda.
- First, try undiluted white vinegar applied directly onto the sealant or if preferred, it can be diluted at a ratio of two parts vinegar to one part water. Leave it to sit for half an hour or even overnight for larger, denser areas of mould.
- Using a soft cloth or toothbrush, work the vinegar-covered mould in circular motions until it starts to come away. Clean and wipe afterwards.
- If the mould seems stubborn, mix the vinegar with enough bicarbonate of soda to make a thick paste and apply again, leaving overnight and repeat the removal process.
If you prefer a chemical solution, you could try using a commercially available mould remover or bleach, following fully all the manufacturer guidelines on usage.
If the mould still won’t budge, try covering with cling film or cloths to keep the solution onto the surface of the mould, rather than dripping away.
Worst case scenario, you will have to cut out the mouldy sealant and re-apply.
How to Prevent Mould Growing (including Black Mould) in First Place?
There are a few preventative measures you can take to try to prevent the growth of mould on your silicone sealant.
- Use The Extractor Fan
Some extractor fans come on at the same time as the light, others you need to manually turn on. Whichever way yours works, it’s important that you do turn it on to help remove steam and humidity. Clean the fan regularly to remove any dust build up so that it works correctly and efficiently. If you want to go the whole hog, why not buy an extractor fan which detects the humidity in the air and will always ensure humidity is controlled.
- Open The Window
Although the job of the extractor fan is to remove the steam and humidity, you can speed this process by opening a window for a short period of time after you bath or shower. If this still isn’t working, try a dehumidifier. Although an electric one will need a power source (be extremely careful using electric items in areas of high humidity or near water), absorbent dehumidifiers won’t and can be utilised to good effect.
- Wipe All Surfaces
Wiping down the surfaces to a dry finish after you’ve had your bath or shower can remove the environment that mould needs to thrive and grow.
- Try An Anti-Mould Sealant
Although we make no claims as to whether they work, several anti-mould sealants exist on the market claiming to be able to prevent mould growth. Removing the old sealant and replacing with one such product could help to at least discourage the growth of mould.
Mould is not only unsightly, but it can also pose a health hazard. With just a few simple adjustments to your routine, you can minimise or even eliminate mould.


